-de8bd8f33c3e44a59907dafe1884f228.png)


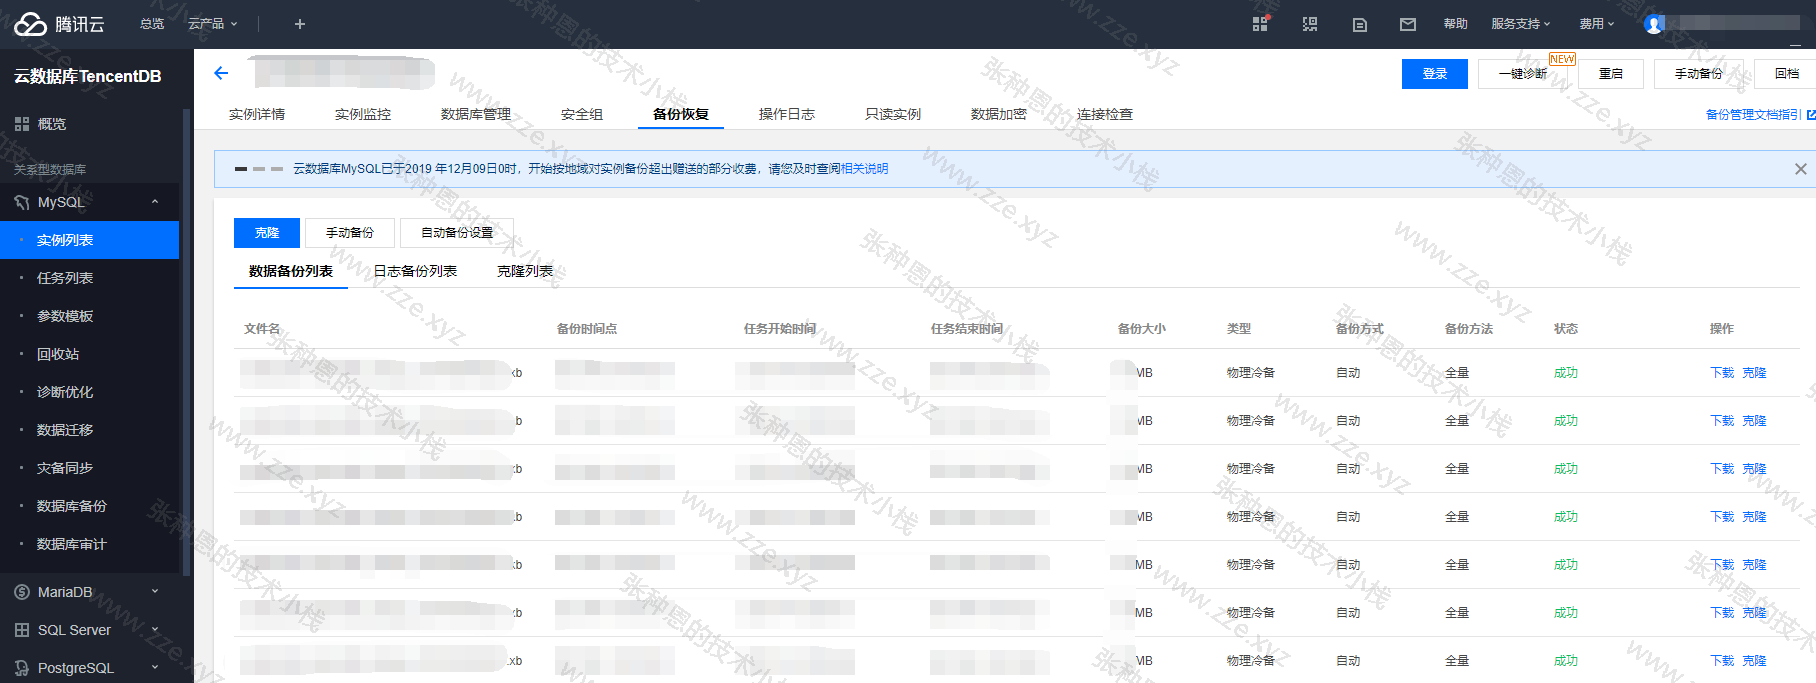
腾讯云和阿里云上的 MySQL 实例全备文件都是 xb 后缀,如下:
今天由于特殊原因需要恢复之前的备份到本地环境,要注意的是本地部署的实例版本需要和云上一致,主要恢复步骤如下:
1、参考【二进制包形式安装 MySQL 5.7】完成一个 MySQL 实例的部署。
2、安装处理 *.xb 文件相关的工具包:
$ yum install percona-xtrabackup-2.3.6-1.el7.x86_64 -y
$ wget http://www.quicklz.com/qpress-11-linux-x64.tar
$ tar xf qpress-11-linux-x64.tar
$ mv qpress /usr/local/bin/
3、对 *.xb 文件进行解包解压处理并设置 mysql 权限:
$ mkdir tencent-mysqldata
$ cat xxx.xb | xbstream -x -v -C  tencent-mysqldata/
$ innobackupex --decompress --remove-original  tencent-mysqldata/
4、将解压的数据目录直接设置为本地 MySQL 实例的数据目录:
$ mv tencent-mysqldata/ /data/3306
$ chown -R mysql.mysql /data/3306
$ vim /etc/my.cnf
[mysqld]
...
datadir=/data/3306/tencent-mysqldata/
...
5、重启 MySQL 实例,登入测试:
$ systemctl restart mysql
$ mysql -uroot -p
Enter password:
Welcome to the MySQL monitor.  Commands end with ; or \g.
Your MySQL connection id is 2
Server version: 5.7.33 MySQL Community Server (GPL)

Copyright (c) 2000, 2021, Oracle and/or its affiliates.

Oracle is a registered trademark of Oracle Corporation and/or its
affiliates. Other names may be trademarks of their respective
owners.

Type 'help;' or '\h' for help. Type '\c' to clear the current input statement.

mysql>
评论区