-de8bd8f33c3e44a59907dafe1884f228.png)


安装
1、点击下载。
2、解压到一个目录。
3、进入解压后的 bin 目录,双击该文件夹下的 startup.bat 即可运行。
4、若运行成功,会有一个窗口悬停如下:
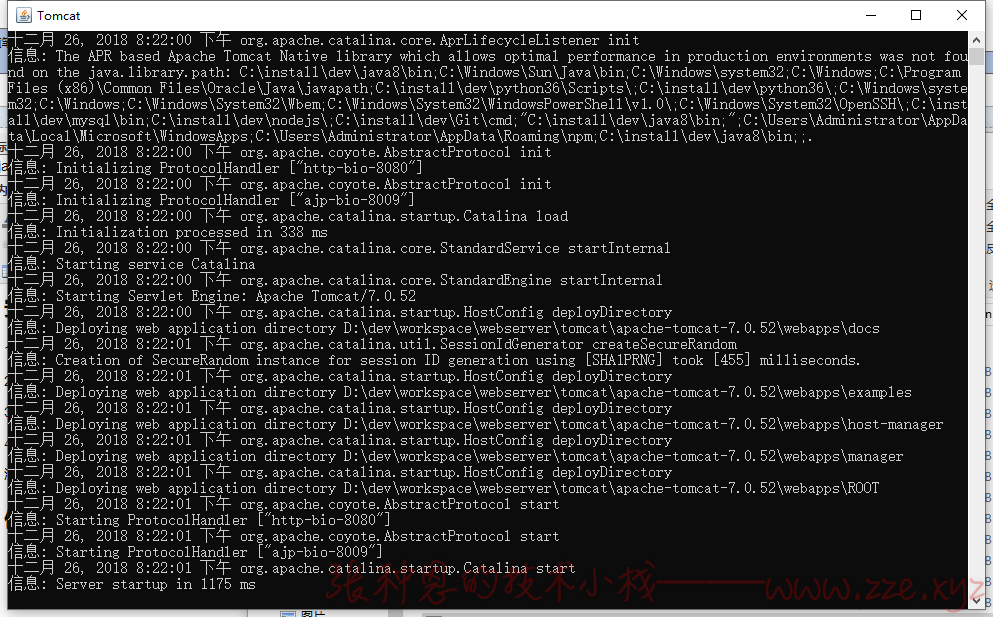
访问地址:localhost:8080,若出现如下界面,则表示安装运行成功。

使用
目录介绍
bin     # 包含了一些jar、bat文件
conf    # tomcat的配置相关文件。例如:server.xml、web.xml
lib     # tomcat运行所需的jar文件
logs    # 存放日志文件
temp    # 临时文件
webapps # 发布到tomcat服务器上的项目,就存放在这个目录
work    # jsp翻译成class文件存放地
发布
现有如下文件:
<!-- hello.html -->
<!DOCTYPE html>
<html>
<head>
    <title></title>
</head>
<body>
    <h1>hello web!!!</h1>
</body>
</html>

hello.html
将其发布到 tomcat 有大致有如下两种方式:
拷贝到 webapps
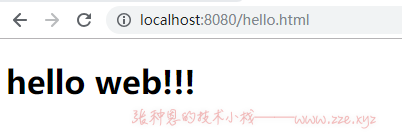
拷贝该文件到 webapps/ROOT 下,访问 http://localhost:8080/hello.html:
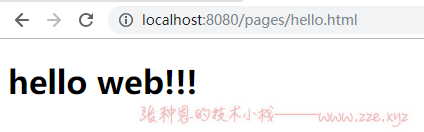
还可以在 webapps 下新建一个文件夹,然后将 hello.html 拷贝到该目录。比如我在此新建的是 pages 文件夹,接着就可以通过 localhost:8080/pages/hello.html 访问:
配置虚拟路径
假如 hello.html 文件被我存放在 D:\dev\workspace\webserver\pages 下,可以在 conf/server.xml 中找到 host 节点,加入内容如下:
<!--
  docBase:项目的路径地址
  path:对应的虚拟路径 一定要以/打头
 -->
<Context docBase="D:/dev/workspace/webserver/pages" path="/a"></Context>
接下来就可以访问 localhost:8080/a/hello.html:

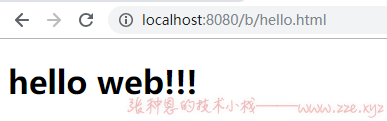
还有一种方法,在 conf/catalina/localhost/ 下新建一个 xml 文件,名字可以自己定义,这里我使用 b.xml,加入内容如下:
<?xml version='1.0' encoding='utf-8'?>
<!--
  docBase:项目的路径地址
 -->
<Context docBase="D:/dev/workspace/webserver/pages"></Context>
接着就可以访问 localhost:8080/b/hello.html:
IDEA 中使用 Tomcat
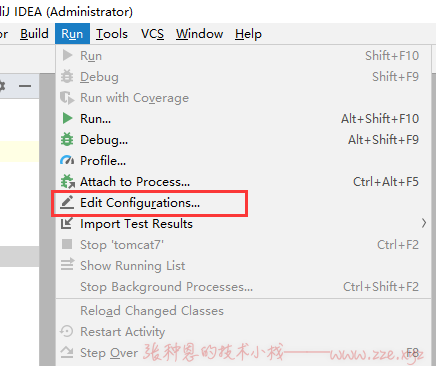
1、选择菜单 Run ,点击 Edit Configurations。
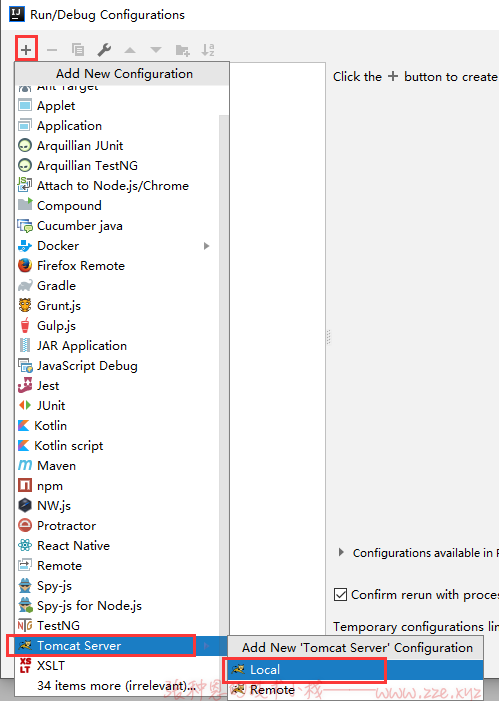
2、点击 + 号,选择到 Tomcat Server,点击 Local。
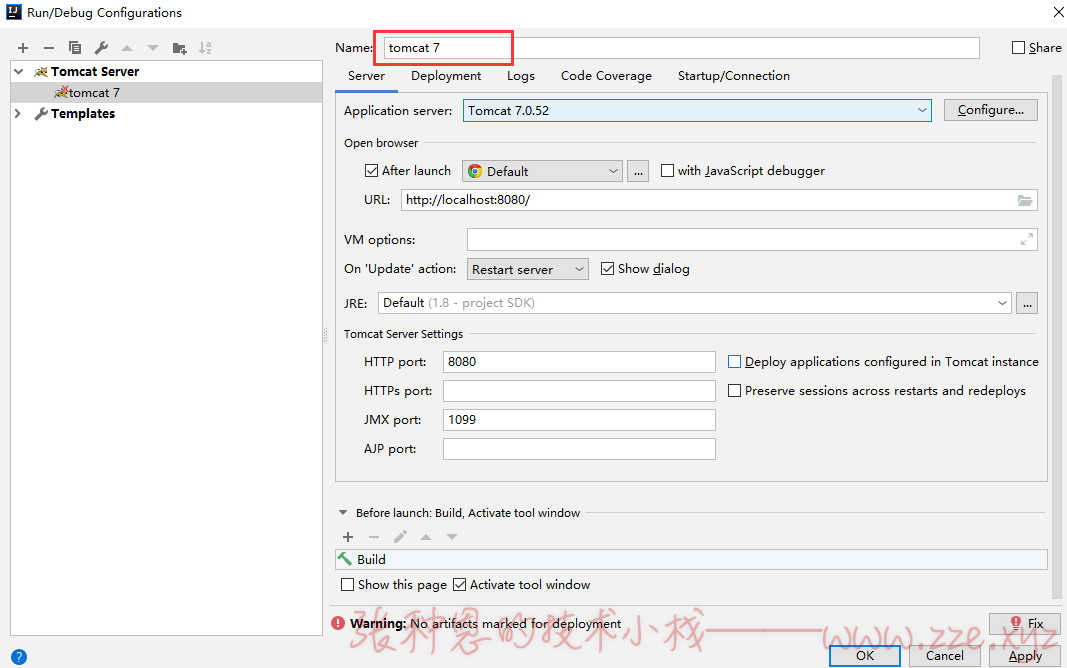
3、设置 Tomcat 名称,点击 Deployment。
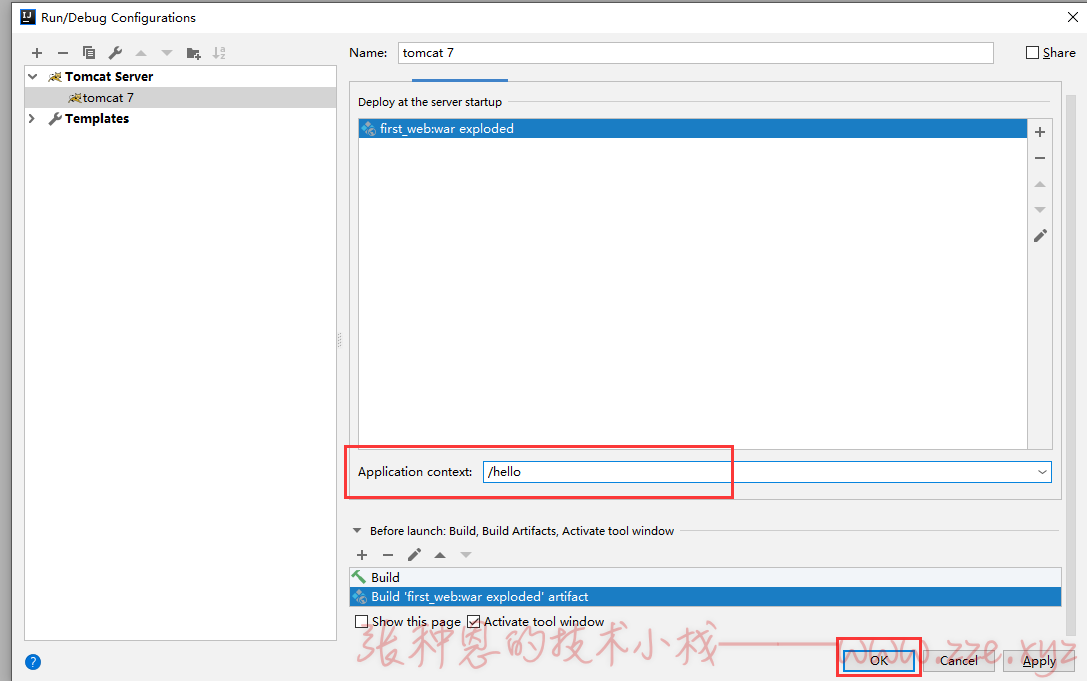
4、点击 + 号,选择 Artifact,将当前 web 项目添加到部署目录中。

5、编辑 Application context,它就是访问时起始路径,点击 OK。
6、修改 web 目录下的 index.jsp:
<%@ page contentType="text/html;charset=UTF-8" language="java" %>
<html>
  <head>
    <title>Hello</title>
  </head>
  <body>
  Hello tomcat!!!
  </body>
</html>
7、在 Application Servers 窗口,选中要运行的 tomcat 实例,右键点击 Run/Connect 运行。

8、完成,访问 http://localhost:8080/hello/。

评论区